So, I’ve been busy. New job, new place to live, and have had a few other priorities. Since my last post, I’ve sold my 2003 Honda Shadow Spirit. It was my first bike, and I was sad to see it go. But 3 bikes seemed one too many. (If you ask my girlfriend, I still have 2 too many).
Anyway — back to the LED Taillight project.
I have finished the project now. Since I was in between phones — some steps don’t have pictures.
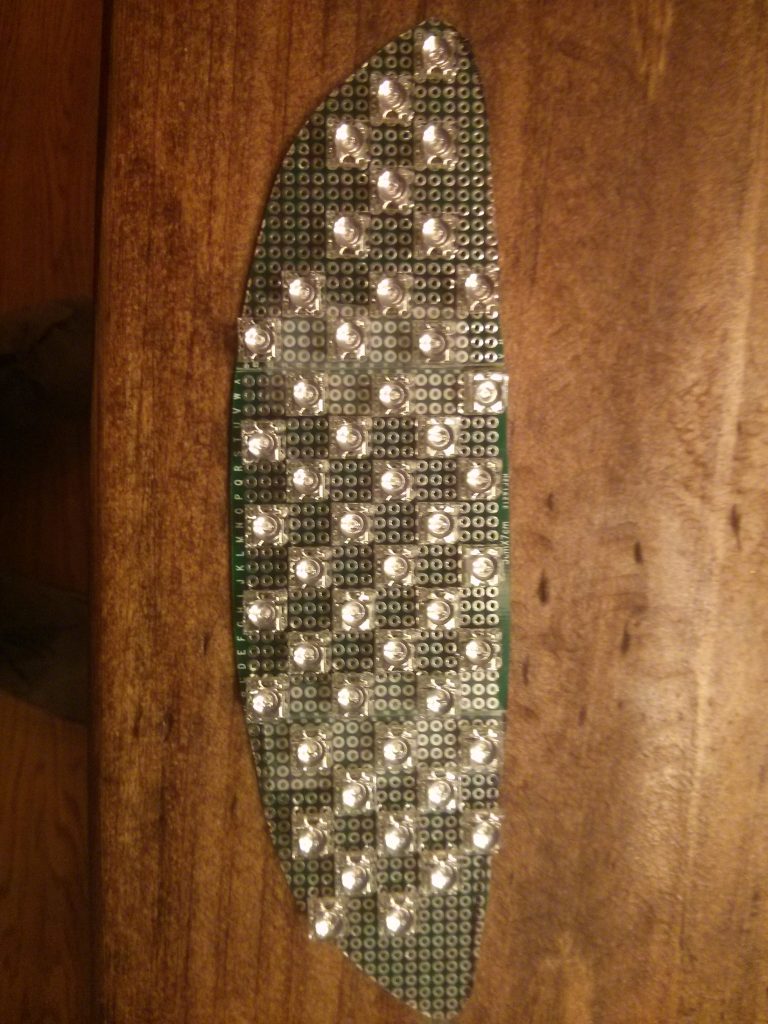
Since the last post, I redesigned how I laid out the LEDs.

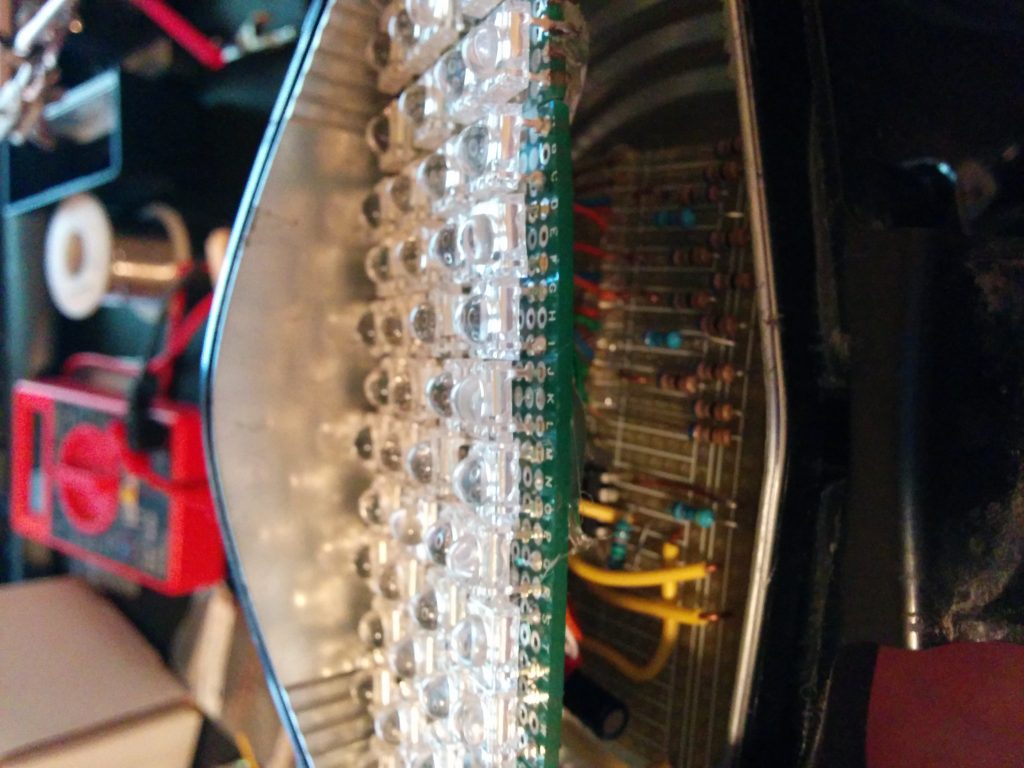
There are a total of 70 LEDs in this array. The specs on these red LEDs can be found here. Each puts out 10 lumens when given the proper current and voltage. This produces 700 lumens if all are on. In contrast, 21+5W of the old incandescent puts out around ~450 I believe. The array of 70 LEDs was wired as 14 parallel sets of 5 in series. Each set of 5 in series has its own resistor. I chose 68 ohm resistors. This site came in handy during the planning stages so I didn’t have to to the math.
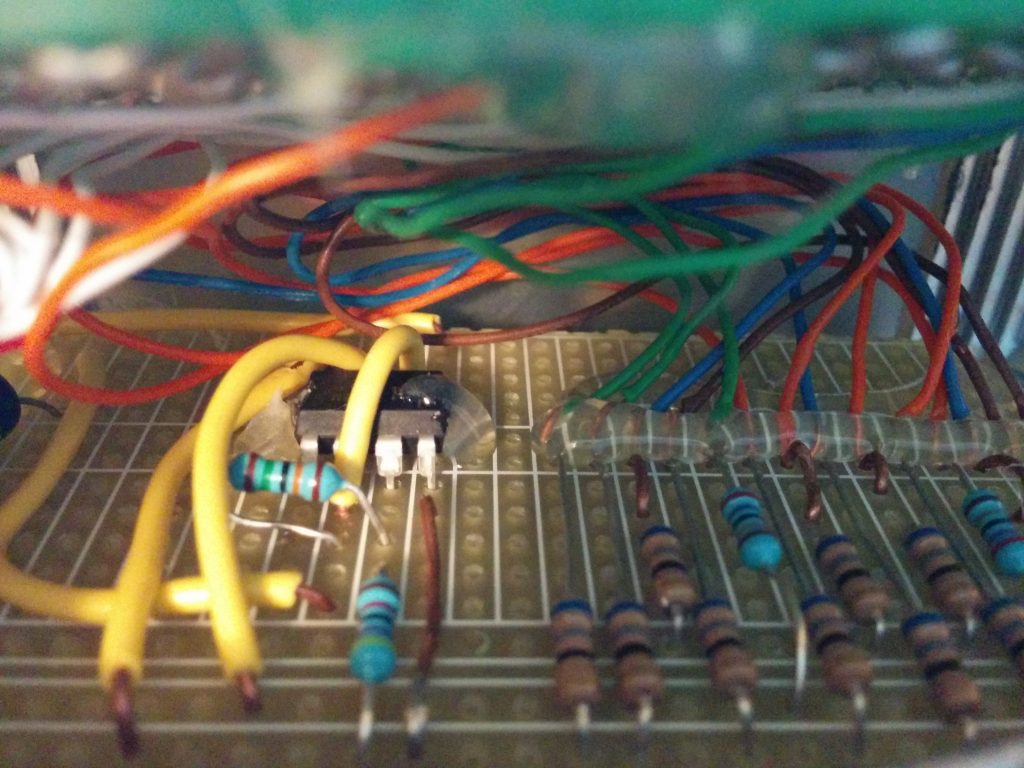
So I wired all the LEDs to a separate project breadboard where I could place my resistors, and more importantly, my flashing circuit.

After this was done, I wanted the bottom row of LEDs to flash during braking. I’ve seen my friend’s BMW 650GS have this flashing stock from the factory, and I liked it. So I designed an astable 555 timer circuit that flashed at the frequency I wanted. There are numerous calculators and circuit diagrams online for setting up your 555 timer to oscillate at the frequency you want. HOWEVER – when the 555 timer is used to provide the current (you can either sink current into the 555 timer output, or have it produce it) it has a voltage drop of about ~2 volts. In addition, it can only sink / provide about 200ma of current reliably before it starts to heat up. This means the resistors I used on the flashing LEDs had to be less if they were to be the same brightness.
And a picture of the little 555 timer circuit:

Hot glue was nice to hold things in place during soldering, and provides a good insulator / way to prevent wires from touching.
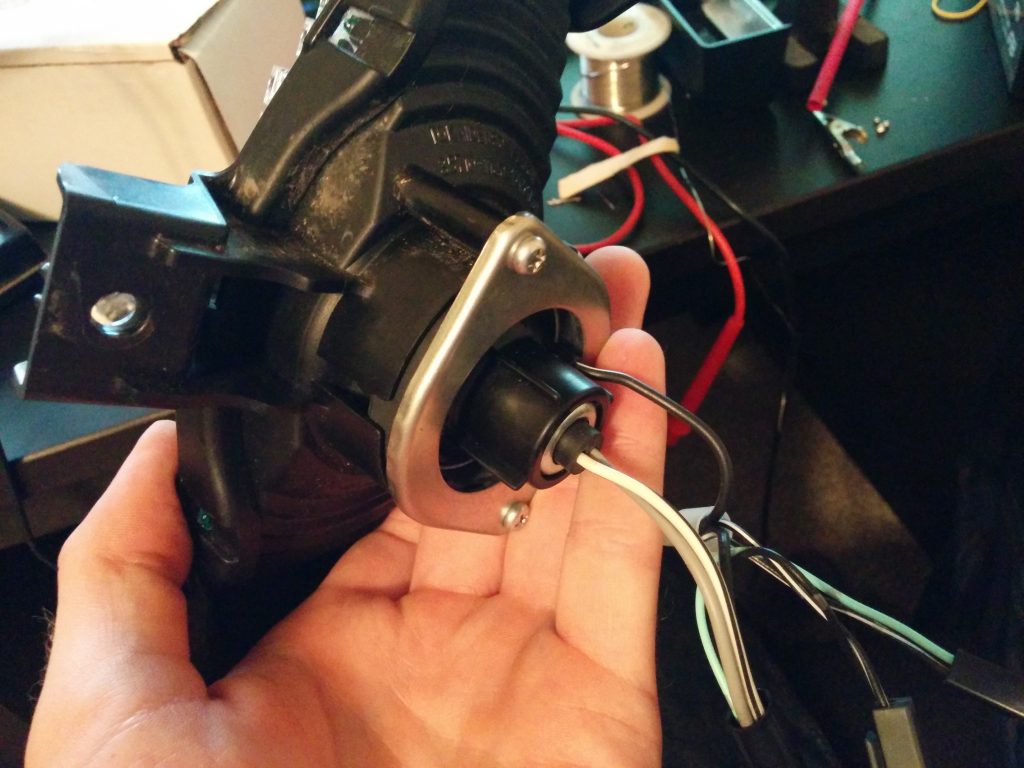
Oh yeah, how did I get away with not cutting/splicing any wires? I simply broke the old incandescent light, removed all the glass, and soldered leads onto the bulbs filament stand-offs. I covered them in heat shrink tubing and made sure bending wouldn’t occur and break these. It worked great, however ratchet.

After this was all in place, I once again used the heat gun to soften the glue holding the two halves of the light housing back together.
Sorry I didn’t have more pictures of the LED blinkers, but they’re the same principle. I used amber lights instead of red, and had to get a relay that flashed at the proper rate from ebay. It was only 13 bucks shipped!
Comments
One response to “LED Taillight: More”
very interesting details you have noted, appreciate it for putting up.